Introduction to the Olympic National Forest
Welcome
()
1. Shooting in the Sol Duc Valley
Introducing the Sol Duc Valley
()
Defining the HIPS acronym for the shooting workflow
()
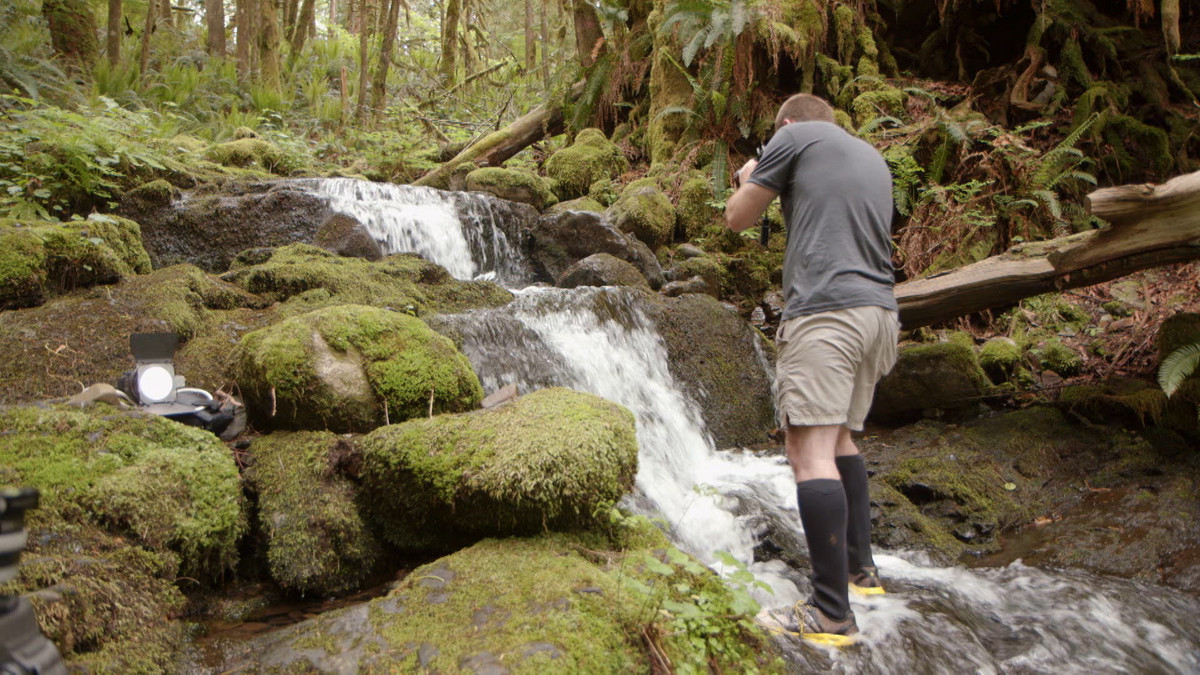
Taking a serene water shot in a flowing creek
()
Creating a more powerful foreground-to-background relationship
()
Setting up the shot of the falls on the bridge
()
Taking a shot of the falls from the center of the bridge
()
Shooting the falls wide from a different perspective
()
Using a long lens to try to get the look of a miniature ice village
()
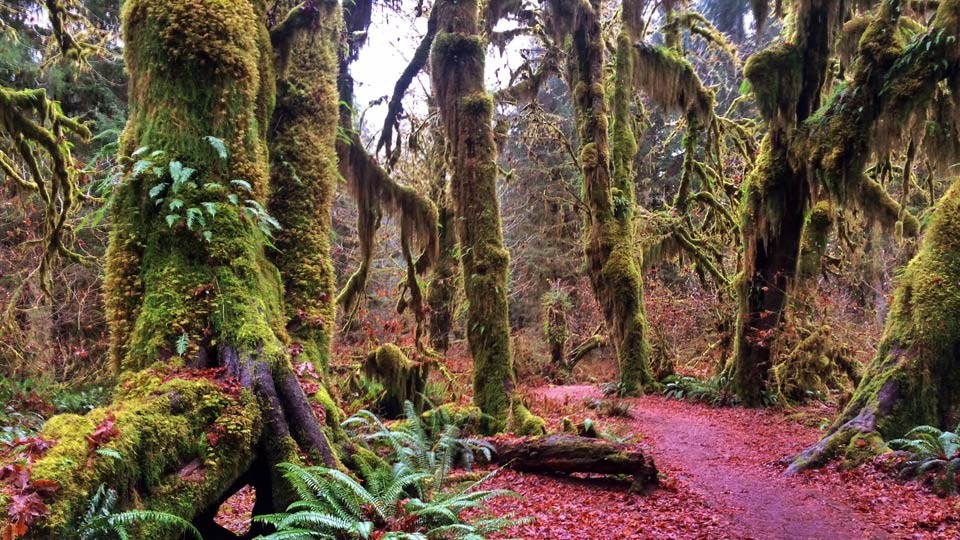
Isolating the mossy trees in a busy forest
()
Compressing the depth of the forest to get the composition
()
Getting a macro shot on the forest floor
()
Wrapping up the Sol Duc Valley shoot location
()
Post-processing on the water shot from the creek
()
Applying a recipe to the post work on an image
()
Reviewing other post-processing tips for the Sol Duc images
()
2. Shooting Second Beach on the Olympic Peninsula
Shooting reflective pools with a foreground-and-background relationship in mind
()
Shooting water channels in the foreground
()
Working with S curves and triangles in the composition
()
Using a neutral-density filter to get a silky ocean-wave image
()
Shooting the sea stacks from within the water
()
Blending two images to achieve the look
()
Finalizing the post-process image blend
()
3. Shooting in the Hoh Rain Forest
Introducing the Hoh Rain Forest location and shoot plan
()
Isolating elements in the Hoh Rain Forest first shot
()
Isolating a tree as a subject in the composition
()
Shooting trees in the Hall of Mosses with a long lens
()
Using the pathway as a leading line
()
Using a long lens to isolate patterns in the moss
()
Using a tilt-shift lens to correct distortion in the forest image
()
Using the tilt-shift lens for a panorama
()
Finding a shot of fall-foliage color in the Hoh Rain Forest
()
Comparing shots with polarization
()
Stitching the tilt-shift panorama
()
4. Reviewing the Final Images
Final image review and selects from the shoot
()