Introduction
Welcome
()
About the media used in this title
()
Using this footage
()
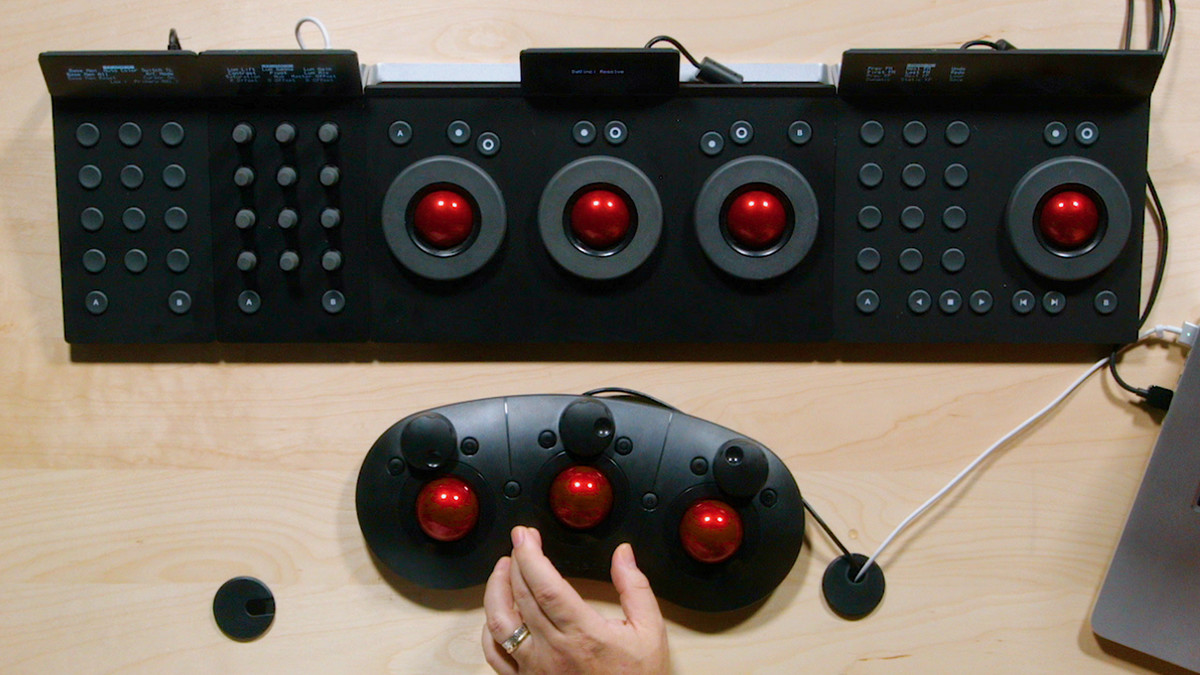
About this rig
()
1. What's New in Resolve 12?
Who should watch this chapter?
()
The new single-user mode
()
The new user interface in 4 minutes
()
Useful new keyboard shortcuts
()
Five don't-miss features in 4 minutes
()
Simple clip relinking
()
Media Storage favorite shortcuts
()
Smart Bins
()
Smooth Cut for jump cut edits
()
Timeline Smart Filters
()
Revealing Resolve's order of operations pipeline
()
Bezier handles in Resolve 12
()
Compound nodes
()
Tracker: The new 3D perspective tracker
()
Tracker: The new "frame" behavior
()
Group grading: Collapsing grades to the clip level
()
Keying: The new 3D keyer
()
Keying: New Clean Black and Clean White tools
()
Media Management panel
()
Avid Pro Tools export
()
2. Building a Resolve System
Who uses DaVinci Resolve?
()
Overview: The DaVinci Resolve toolset
()
DaVinci Resolve vs. DaVinci Resolve Studio
()
Building a Resolve system: Overview
()
Building a Resolve system: Computer hardware
()
Building a Resolve system: Monitors and calibration
()
Installing and launching DaVinci Resolve for the first time
()
Updating from earlier versions of DaVinci Resolve
()
3. Understanding Disk Databases, User Modes, and Projects
The default database: Disk based
()
Single-user and multi-user modes
()
Creating new projects and importing the course database
()
Relinking media
()
4. Getting Started with DaVinci Resolve 12
Overview of the Resolve interface
()
Customizing your workspace (NEW)
()
Resolve System Preferences
()
Essential Project Settings
()
Tweaking preferences for better performance (NEW)
()
Overview: The Media page
()
Overview: The Edit page
()
Overview: The Color page
()
Overview: The Deliver page
()
Overview: Dual monitor setup
()
The Documentary: Analyzing and importing footage
()
The Documentary: Creating the timeline
()
The Documentary: Importing an XML file, method 1
()
The Documentary: Importing an XML file, method 2
()
5. Editing a Project in DaVinci Resolve 12
Navigating the Edit page
()
Organizing your media with Smart Bins
()
Keyboard shortcuts for editing
()
Keyboard mapping
()
Additional timeline commands
()
Working in the Edit mode
()
Working in the Trim mode
()
Trimming in the Source Viewer
()
Track targeting 101
()
Working with audio
()
The Clip Inspector
()
Working with titles
()
Transitions, effects, and clip properties
()
6. Moving and Preparing a Timeline for Color Correction
How to prepare a timeline for color correction
()
Exporting XMLs and self-contained reference movies from your NLE
()
Conforming a timeline with an XML file
()
Checking the conform with a reference movie
()
Automatic scene cut detection: Getting started
()
Automatic scene cut detection: Pruning your edits
()
Automatic scene cut detection: Reconstructing the timeline
()
Automatic scene cut detection: Dealing with dissolves
()
7. Image Evaluation: Seeing Like a Colorist
Creative spotting session: Selecting hero shots and timeline filtering
()
Using scopes: Analyzing contrast and exposure
()
Using scopes: Analyzing color and saturation
()
Using the vectorscope: Analyzing color and saturation
()
Working with the Broadcast Safe filter
()
Using video scopes to analyze the hero shots
()
8. In Action: Building a Look
Colorist lingo: What is a primary correction?
()
Primary color wheels: The Offset control
()
Primary color wheels: Lift Gamma Gain brightness
()
Primary color wheels: Lift Gamma Gain color changes
()
The primary sliders and YRGB processing
()
Color wheels: Getting faster with keyboard modifiers
()
Understanding the Contrast and Pivot controls
()
Adjusting hue and saturation
()
The RGB mixer
()
Using curves as primary corrections
()
Colorist lingo: What are raw and log formats and lookup tables (LUTs)?
()
Intro to color correcting: Raw
()
Intro to color correcting: Log with LUTs
()
In action: Hero shot and primary grades
()
9. Understanding Nodes
Lingo: What is a serial node?
()
Adding, connecting, deleting, and resetting serial nodes
()
Node macros: Splitter/Combiner nodes
()
Specialty nodes: The Layer Mixer node and Parallel node
()
Using composite modes in the Layer Mixer node
()
10. Secondary Color Correction Tools
Colorist lingo: What is a secondary correction?
()
Custom curves as secondary corrections
()
Log wheels as secondary corrections
()
Color wheels: Highlight and shadow controls
()
Color wheels: Color boost and midtone detail controls
()
Using the Hue vs. curves
()
Using the Lum vs. and the Sat vs. curves
()
Targeting corrections with the Hue/Saturation/Luminance (HSL) keyer
()
Understanding the HSL Matte Finesse controls
()
Targeting corrections with the new 3D keyer
()
Limiting HSL and 3D keys with Power Windows
()
Colorist lingo: What is a vignette?
()
Power window fundamentals: Basic controls
()
Power window fundamentals: Manipulating shapes
()
Power window fundamentals: Adding and copying and pasting shapes
()
Color correcting with power windows
()
Node macros: The Add Outside node
()
Power windows with the Tracker
()
Fine-tuning your tracking
()
In action: Hero shots and secondary corrections
()
11. Matching Shots
Colorist lingo: What is shot matching? (Keynote)
()
Shot match workflow: Matching exposure
()
Shot match workflow: Matching color
()
The automatic Shot Match tool
()
Overview: The Gallery
()
Gallery: The Reference Wipe
()
Gallery: Copying grades and nodes
()
Versions: Flipping between multiple color corrections
()
Matching skin tone: The fundamentals
()
Matching skin tone: Examples
()
Power grades: Understanding "stills on the go"
()
In action: Hero shots and shot matching
()
12. Building Looks: Essential Tools
PowerGrades presets: How to find and use them
()
Groups: Powerfully grading entire scenes at once
()
Blur and sharpen: Fundamentals
()
OpenFX: Using third-party plugins
()
Render cache: Smart mode
()
Keyframing fundamentals
()
In action: Hero shots and looks, part 1
()
In action: Hero shots and looks, part 2
()
13. Rendering, Delivering, and Archiving
Rendering: Individual shots
()
Deliver page: XMLs and delivering individual shots to editorial
()
Rendering: A self-contained movie
()
Organizational tips: Archiving your project
()
14. DaVinci Resolve 12 Essential Updates
Welcome
()
Importing the update
()
DaVinci Resolve vs. DaVinci Resolve Studio
()
New minimum software requirements
()
Obvious user interface changes
()
Closer look: New menus
()
Keyboard shortcuts: New commands worth mapping
()
Save Status icon
()
Frame delay option for Record Viewer
()
Easily create diagnostic logs for Blackmagic support
()
High-visibility power window outlines
()
New project archiving, restoring, and exporting options
()
Power bins in the Media Pool
()
Deinterlacing and 3:2 pulldown insertion In depth
()
Separate color space and gamma option
()
Bins: New sorting and tagging options
()
Conclusion
()
Conclusion
Additional color correction resources (Keynote)
()
Goodbye (Keynote)
()
