Introduction
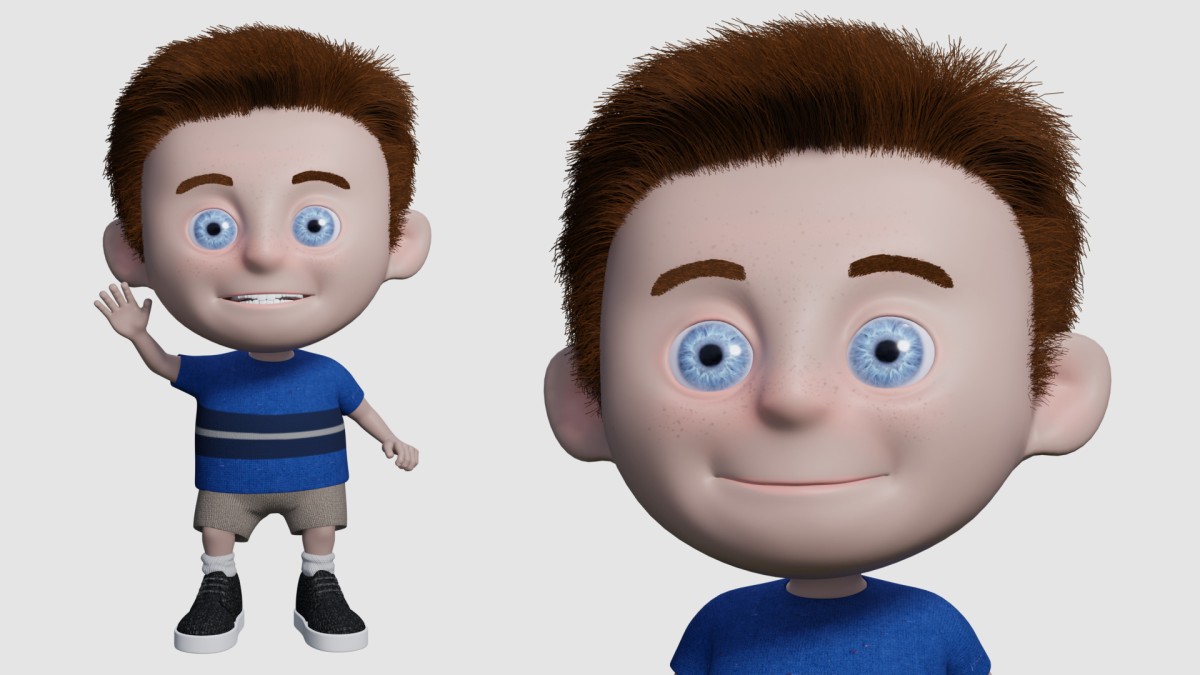
Create an animated character in Blender 2.9
()
What you need to know
()
Importing reference images
()
1. Modeling the Character
Beginning the Loop mask
()
Completing the Loop mask
()
Pulling the face into 3D
()
Adjusting the face and adding the eyes
()
Extruding the forehead and top of head
()
Creating the back and side of the head
()
Extruding the neck
()
Creating the ears
()
Creating the inner mouth
()
Adjusting the lips and extruding the tongue
()
Beginning the gums
()
Modeling the top teeth
()
Finishing the teeth
()
Extruding the torso
()
Modeling the legs
()
Creating the arms
()
Creating a finger
()
Extruding the hand
()
Connecting the thumb
()
Extruding the foot
()
Finishing the feet
()
2. Modeling the Clothes
Creating the shirt
()
Modeling the shorts
()
Beginning the shoes
()
Continuing the shoes
()
Finishing the shoe
()
Creating the shoelaces
()
Sculpting the socks
()
3. UV Mapping
Preparing the model for UV mapping
()
UV mapping the shirt
()
UV mapping the clothes
()
UV mapping the legs and arms
()
UV mapping the head
()
Organizing the UV map
()
UV mapping the eyes and teeth
()
4. Materials and Textures
Establishing the materials
()
Beginning the color map
()
Working on the color map
()
Generating a normal map in Krita
()
Texturing the eyes
()
Beginning to texture paint
()
Texture painting the skin details
()
Painting the freckles
()
Painting the shirts stripes
()
5. Creating Hair
Beginning the character's hair
()
Texturing the hair
()
Cutting and combing the hair
()
Creating the eyebrows
()
6. Rigging the Character
Placing the joints of the rig
()
Adjusting the finger joints
()
Placing the joints of the face
()
Continuing the face joints
()
Modeling the eyelids
()
Arranging the joints of the eyelids
()
Completing the MetaRig
()
Adjusting alignment of the rig
()
Rig layers and control objects
()
Modifying the control objects
()
Binding the rig
()
Parenting the eyes, hair, and teeth
()
Adjusting the character weights
()
Assigning weights to the leg
()
Finishing the leg weights
()
Adjusting the torso weights
()
Assigning weights for the fingers
()
Assigning weights for the arm
()
Adjusting the weights of the face
()
Creating a shape key for eye blinks
()
Testing the rig
()
7. Animating the Character
Setting up the interface for animation
()
Beginning the contact poses
()
Continuing the contact positions
()
More contact positions
()
Ups, downs, and planting the feet
()
Working on the feet
()
Arms, fingers, shoulders, and head
()
Animating the wave
()
Creating a FaceCam and eye blinks
()
Beginning the lip-sync animation
()
Continuing with lip-sync animation
()
Creating a test render
()
Making final adjustments
()
Using the graph editor
()
Fixing the weights of the shorts
()
Adding music and sound FX
()
Rendering the final animation
()
Conclusion
()
Ex_Files_Create_an_Animated_Character_Blender_2_9.zip
(2.0 GB)